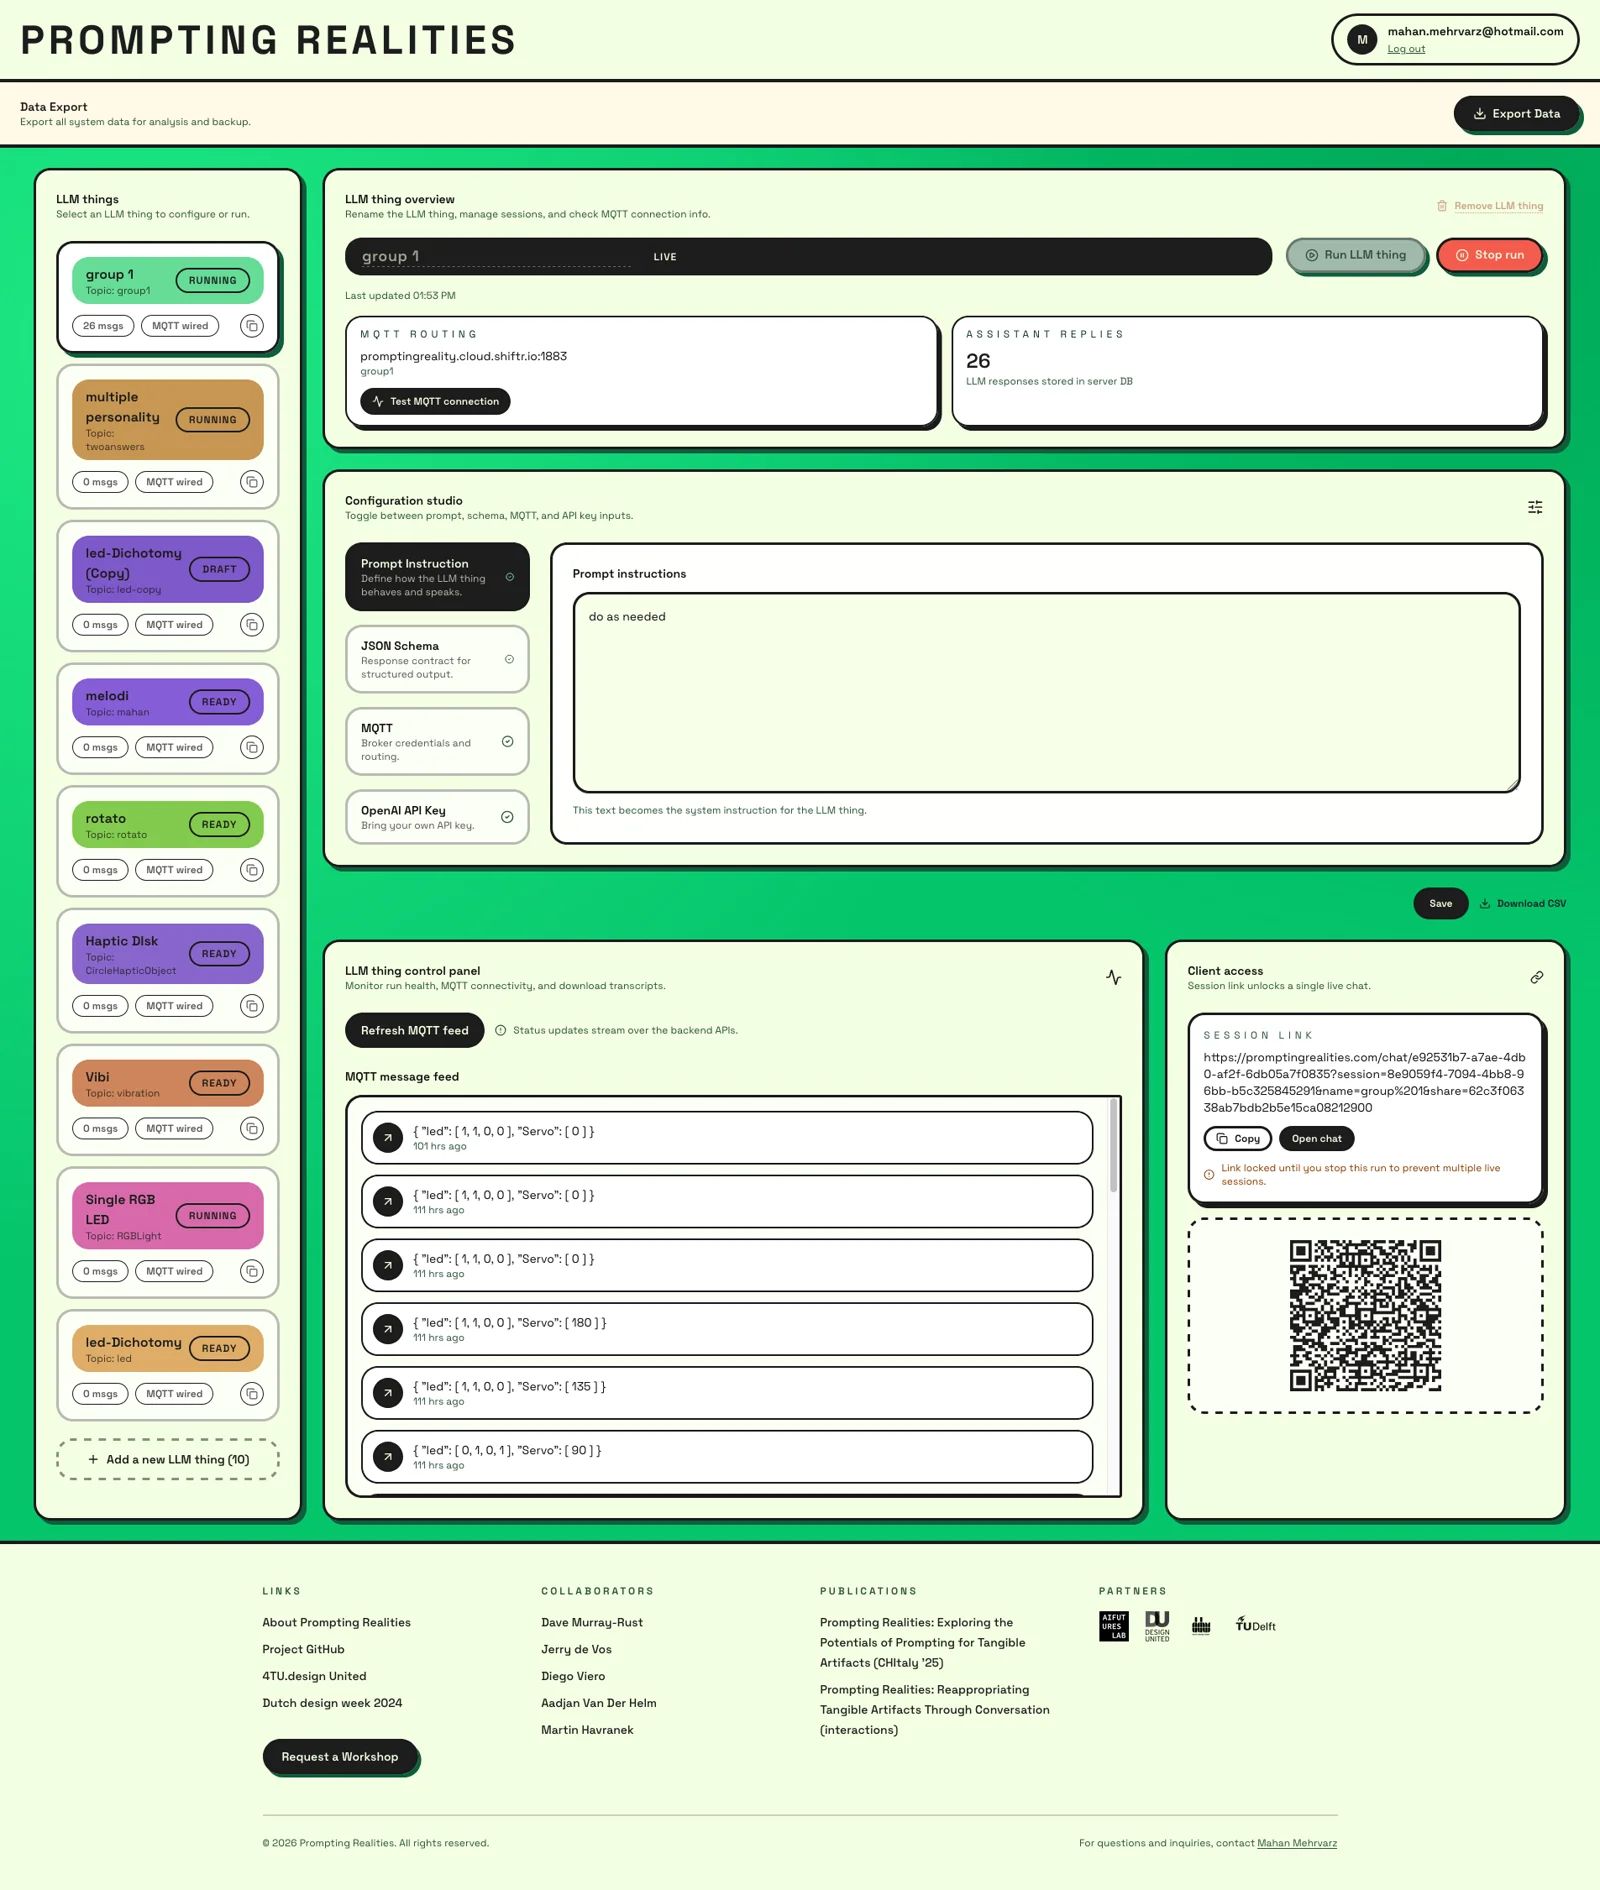
Requirements
- Connected Interaction Kit
- OpenAI API key
A. Connecting the boards to the internet
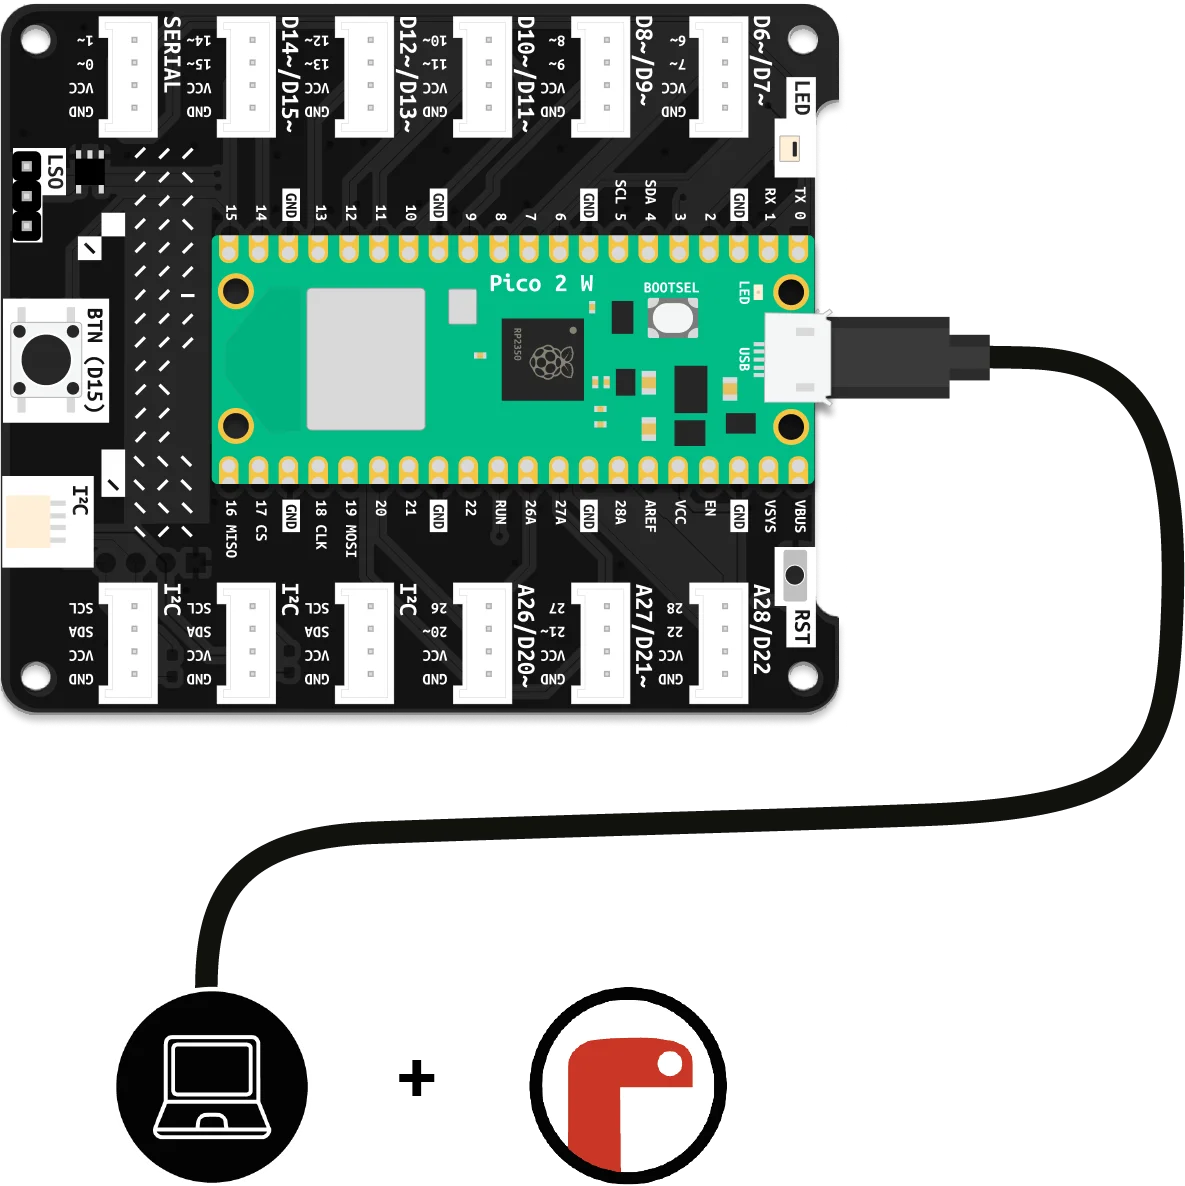
First let’s prepare the setup
Connect you board via the usb cable to your computer
Installing the proper interface to write/edit codes in your board
Before you write your first program, you need to complete one last step:
- Visit codewith.mu and click the green Download button.
- Select the correct link for your operating system (Windows or Mac OS).
- Once the download is complete, launch the installer and follow the instructions on the screen.
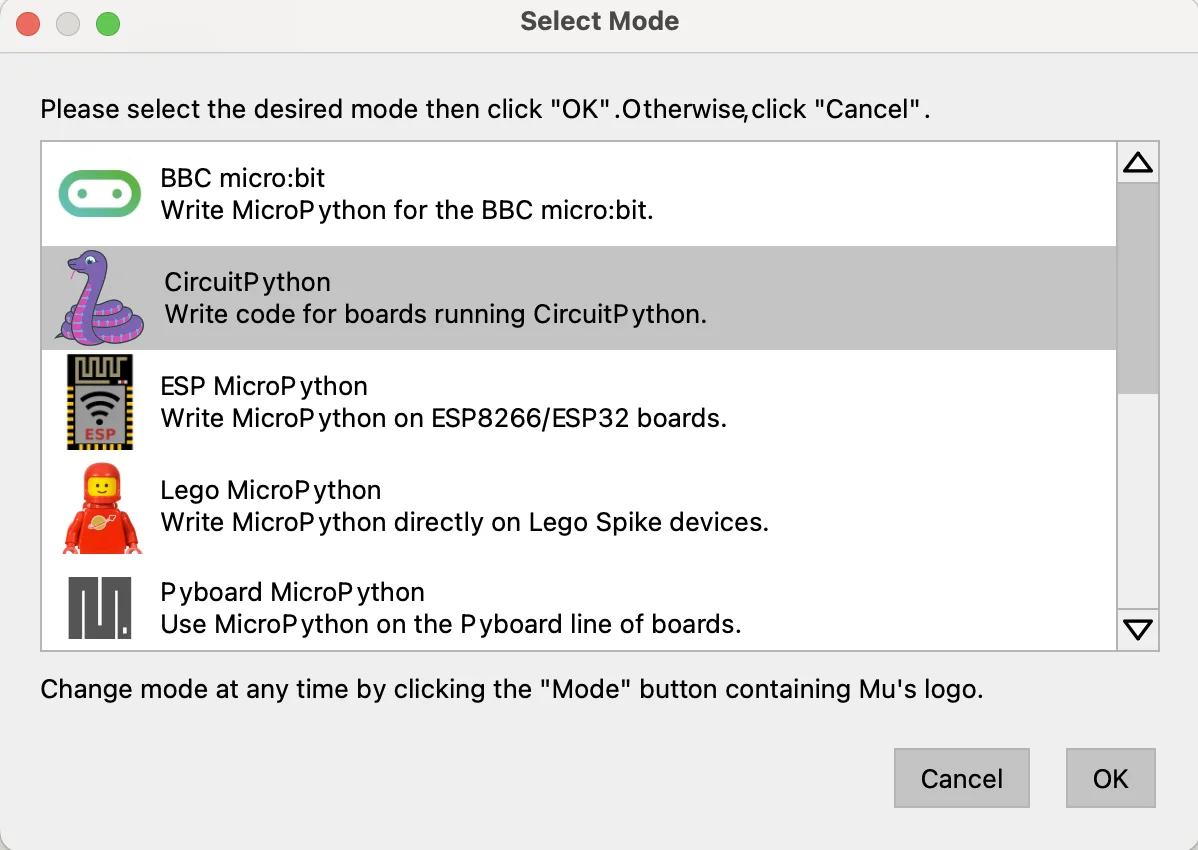
- On its first run, Mu will ask you to select a mode. Choose CircuitPython.
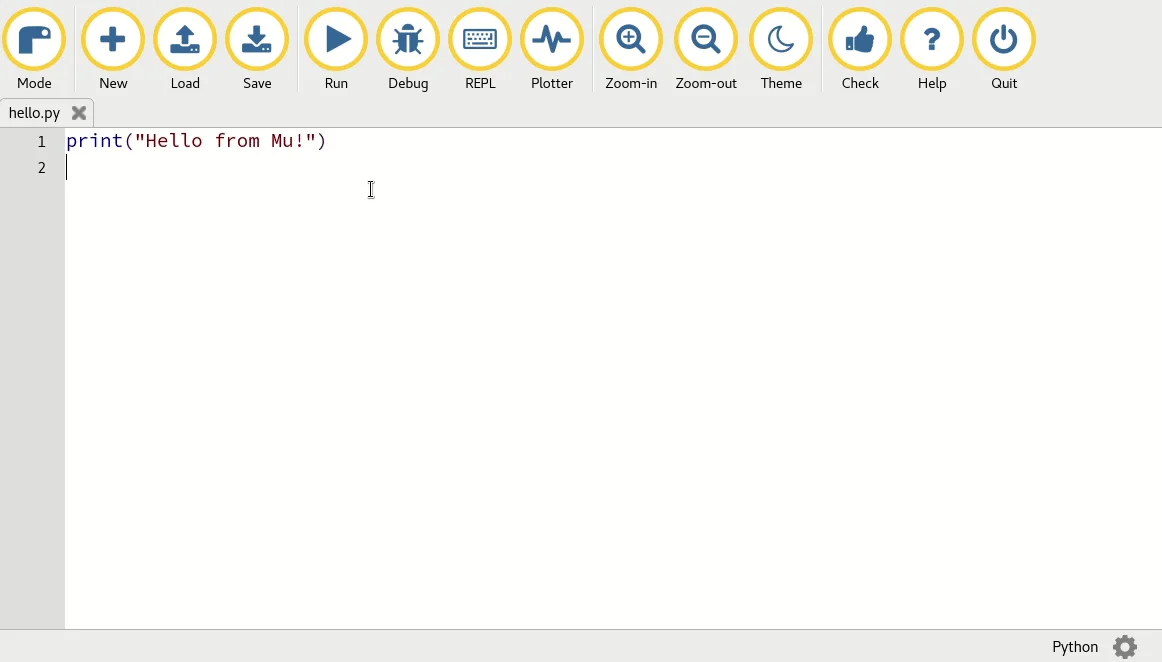
After you are done, you should see mu editor up and running in your laptop.
B. Quick test
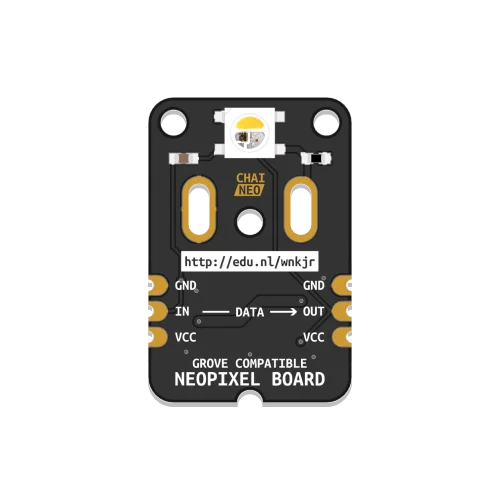
- Connect the chainable NeoPixel LED to the pin (D13) of your board.
- Open the
code.pyfile and replace the code below with its content. Don’t forget to save.
# --- Imports
import time
import json
import board
import neopixel
from MQTT import Create_MQTT
from settings import settings

# --- Variables
# Configure the pin here (any NeoPixel-capable pin)
LED_PIN = board.D13
NUM_LEDS = 1

led = neopixel.NeoPixel(
    LED_PIN,
    NUM_LEDS,
    auto_write=False,
    pixel_order=neopixel.GRBW,
)

# Current LED state: "[R, G, B, Brightness]"
led_state = [255, 255, 255, 200]

# MQTT setup
client_id = settings["mqtt_clientid"]
mqtt_topic = settings.get("mqtt_topic")
mqtt_client = Create_MQTT(client_id)


# --- Functions
def apply_single_led(led_object, values):
    """Apply [R, G, B, Brightness] to a single NeoPixel object."""
    if not isinstance(values, list) or len(values) != 4:
        return

    r, g, b, brightness = values

    # Brightness 0–255 -> 0.0–1.0
    led_object.brightness = max(0.0, min(1.0, brightness / 255.0))

    # With pixel_order=neopixel.GRBW, we still pass (R, G, B, W)
    led_object.fill((r, g, b, 0))
    led_object.show()


def apply_led():
    """Apply current state to the single LED."""
    apply_single_led(led, led_state)


def on_message(client, topic, message):
    """Handle incoming MQTT messages to update the LED color."""
    global led_state
    try:
        data = json.loads(message)

        # Expect messages like: {"led": [R, G, B, Brightness]}
        if "led" in data and isinstance(data["led"], list) and len(data["led"]) == 4:
            led_state = data["led"]
            apply_led()
            print("Updated led:", led_state)
        else:
            print("Received invalid LED payload:", data)
    except Exception as e:
        print("Error parsing MQTT message:", e)


# --- Setu
# Clear LED first
led.fill((0, 0, 0, 0))
led.show()

# Apply initial state
apply_led()

# Configure MQTT callbacks and subscription
mqtt_client.on_message = on_message
mqtt_client.subscribe(mqtt_topic)
print("Subscribed to topic:", mqtt_topic)


# --- Main loop
while True:
    mqtt_client.loop(timeout=0.2)
time.sleep(0.1)- Connect your board to the laptap and load the
settings.pyfile. Replace<your device name>with your actual group name and make sure the rest looks like below. You don’t need the“<” “>”signs there!
settings ={
"ssid": "<your Wi-Fi network>",  # Your WiFi SSID
"password": "<your Wi-Fi password>",  # Your WiFi Password
"mqtt_clientid": "<Your device name>",  # Unique client ID for your device
"broker": "<your-namespace>.cloud.shiftr.io", # MQTT Broker URL
"mqtt_user": "<your broker username>", # MQTT Username
"mqtt_password": "<your broker password>",# MQTT Password
"mqtt_port": 1883,  # Default MQTT Port
"mqtt_topic": "RGBLight"  # MQTT topic for LED control
}- You should see this in your serial monitor of the mu editor:

- Follow up the instruction in the class.
C. Getting up and running with promptingrealities.com
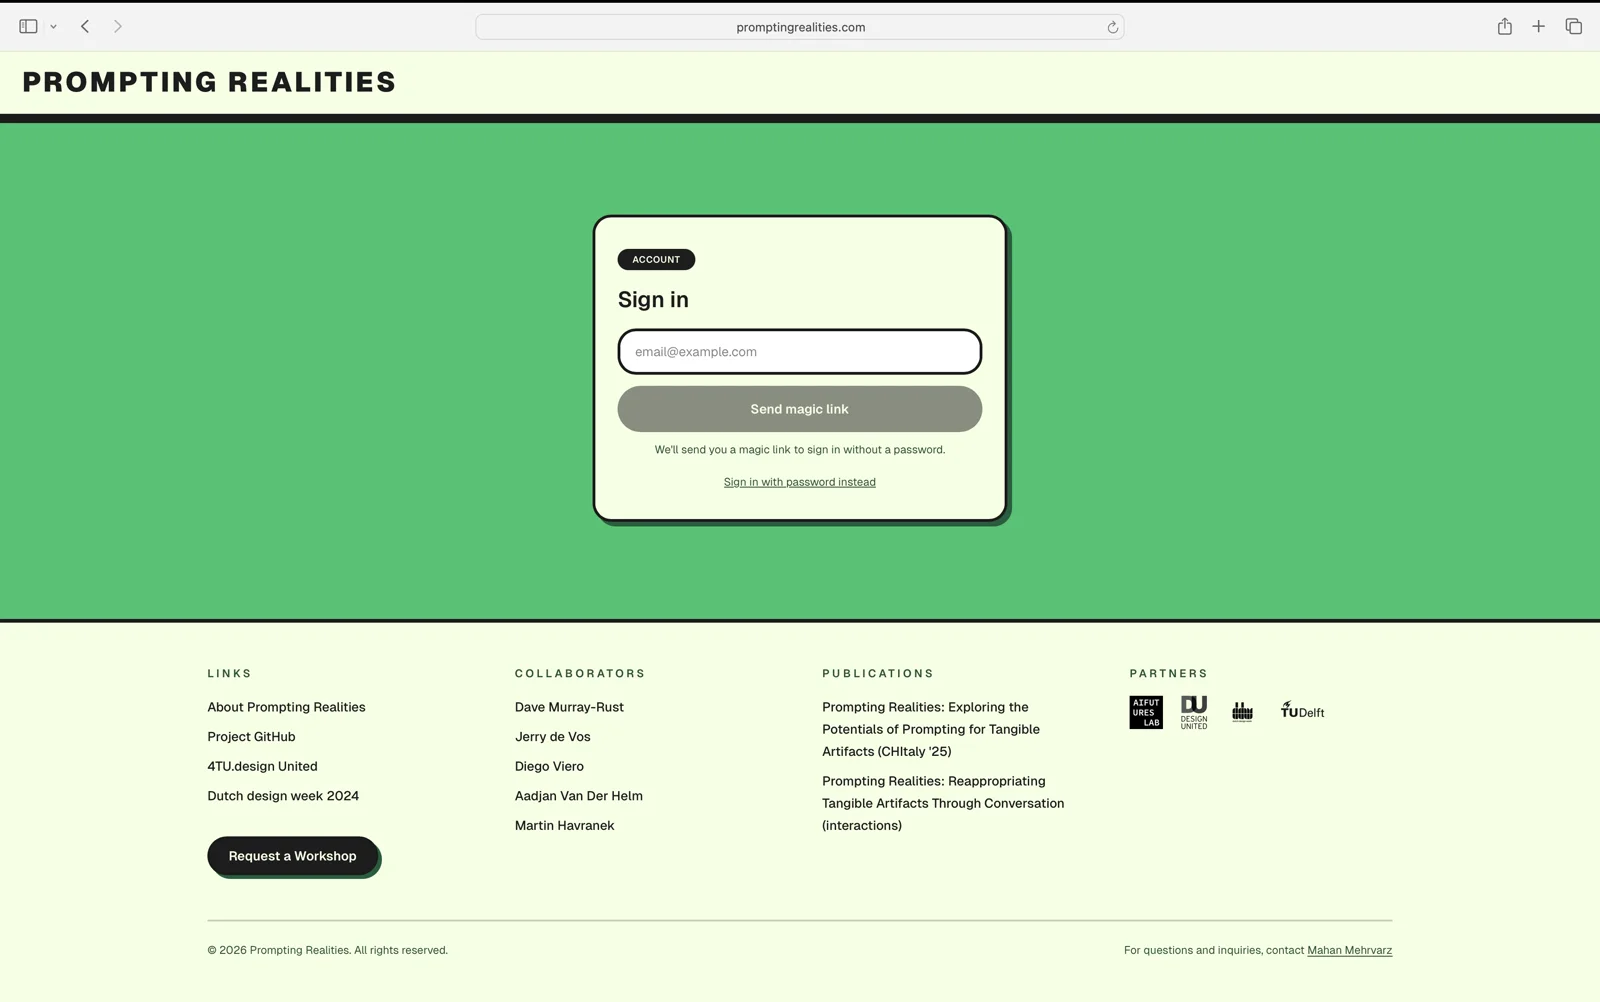
- You need to sign up and make an account. A magic link is sent to your email address and by clicking on the link (also check your spam folder). You’ll be logged in.
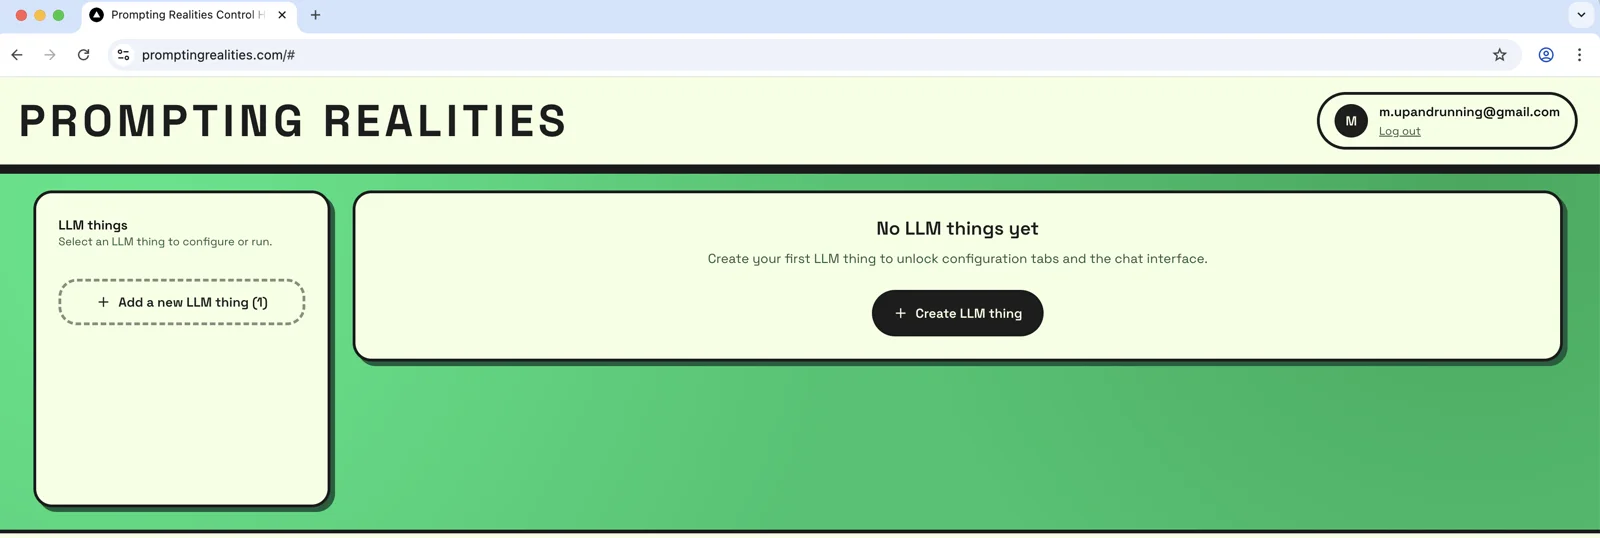
- From the left side panel add a new LLM thing.
- A new LLM thing is added and now you can configure it based on the first example. First step is to call it a name. In this example we call it Neopixel.
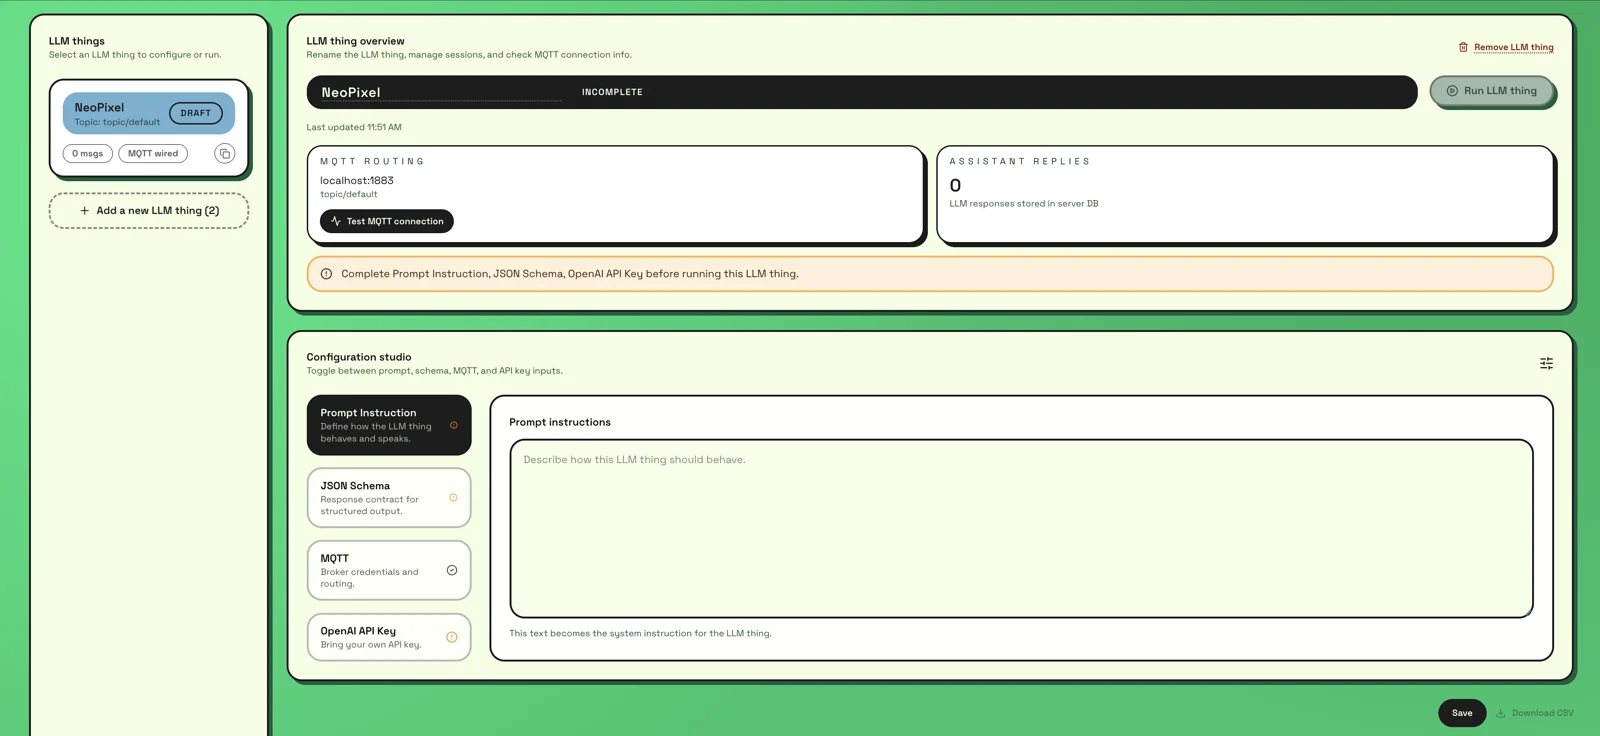
The main part of the interface is the configuration studio. In order to create a LLM thing you need to add information to the four tabs:
- Prompt Instruction
- JSON Schema
- MQTT
- OpenAI Api Key.
For this a quick way would be to use one of the examples from the prompting realities GitHub repository. Lets do one single RGBLED.
D. Creating your first LLM thing
- Use the text below in your prompt instruction text flied.
You are sending values for a RGB LED to change its color based on the command or prompt from the user.
You send three values with each response.
R: for red
G: for green
B: for blue
X: the last value is the brightness
-Here is an example of the values inside the values object
{
  "led": [255, 100, 50, 200]
}

Ds:
-You cannot really do beyond this color change. If the user asked for other things be transparent.
-If user says something not about the LED. You can answer but don't change the color.

Do Not Do:
-in the response object do not include any technical term about the RGB values. Just refer to colors you created and engage the users in conversation.
-Don't be wordy keep it very short.- Use the JSON Schema below
{
  "name": "led",
  "schema": {
    "type": "object",
    "required": [
      "answer",
      "MQTT_value"
    ],
    "properties": {
      "answer": {
        "type": "string"
      },
      "MQTT_value": {
        "type": "object",
        "required": [
          "led"
        ],
        "properties": {
          "led": {
            "type": "array",
            "items": {
              "type": "number"
            },
            "maxItems": 4,
            "minItems": 4
          }
        },
        "additionalProperties": false
      }
    },
    "additionalProperties": false
  },
  "strict": true
}3- In the MQTT tab you have the following fields to fill in:
- Broker Host address
- Username
- port
- password
- Topic
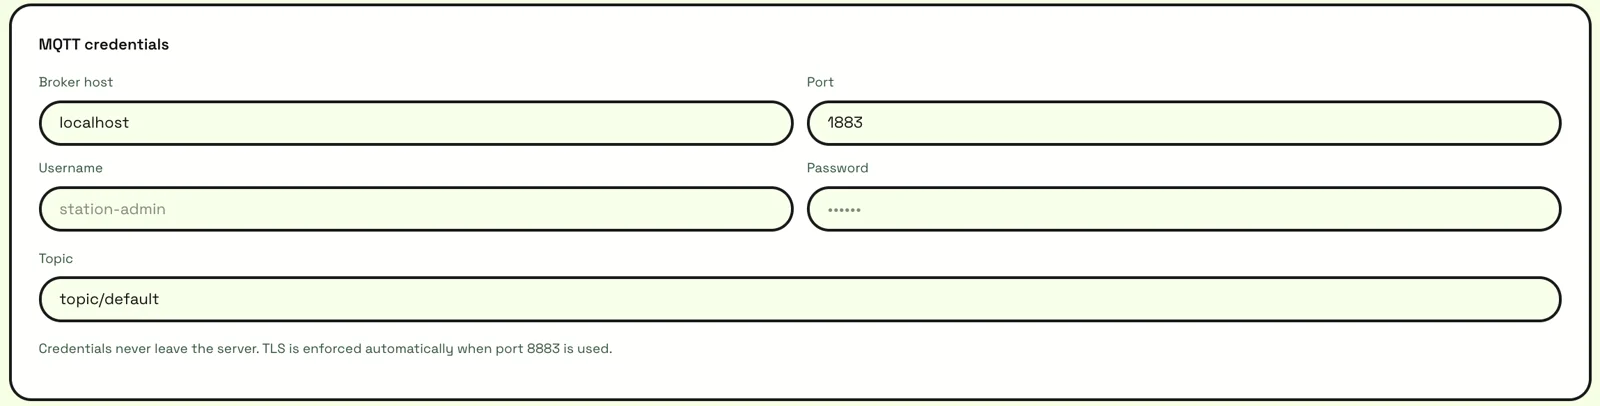
Broker, Username, Port, and Pasword is often the same as your settings.py file (check Part B and step 2)
 broker: <your-namespace>.cloud.shiftr.io
 Username": <your broker username>
 Password: <your broker password>
 port: 1883
But what about thetopic?Topic is something shared between your LLM thing and your hardware (circuitpython board). Both your LLM thing and your board should subscribe to the same topic. This prevents your messages from being sent to other boards and is key for communication between LLM thing and your board. Just pick something simple (e.g. myled, mahan-led, light1, coloredlight, etc.)
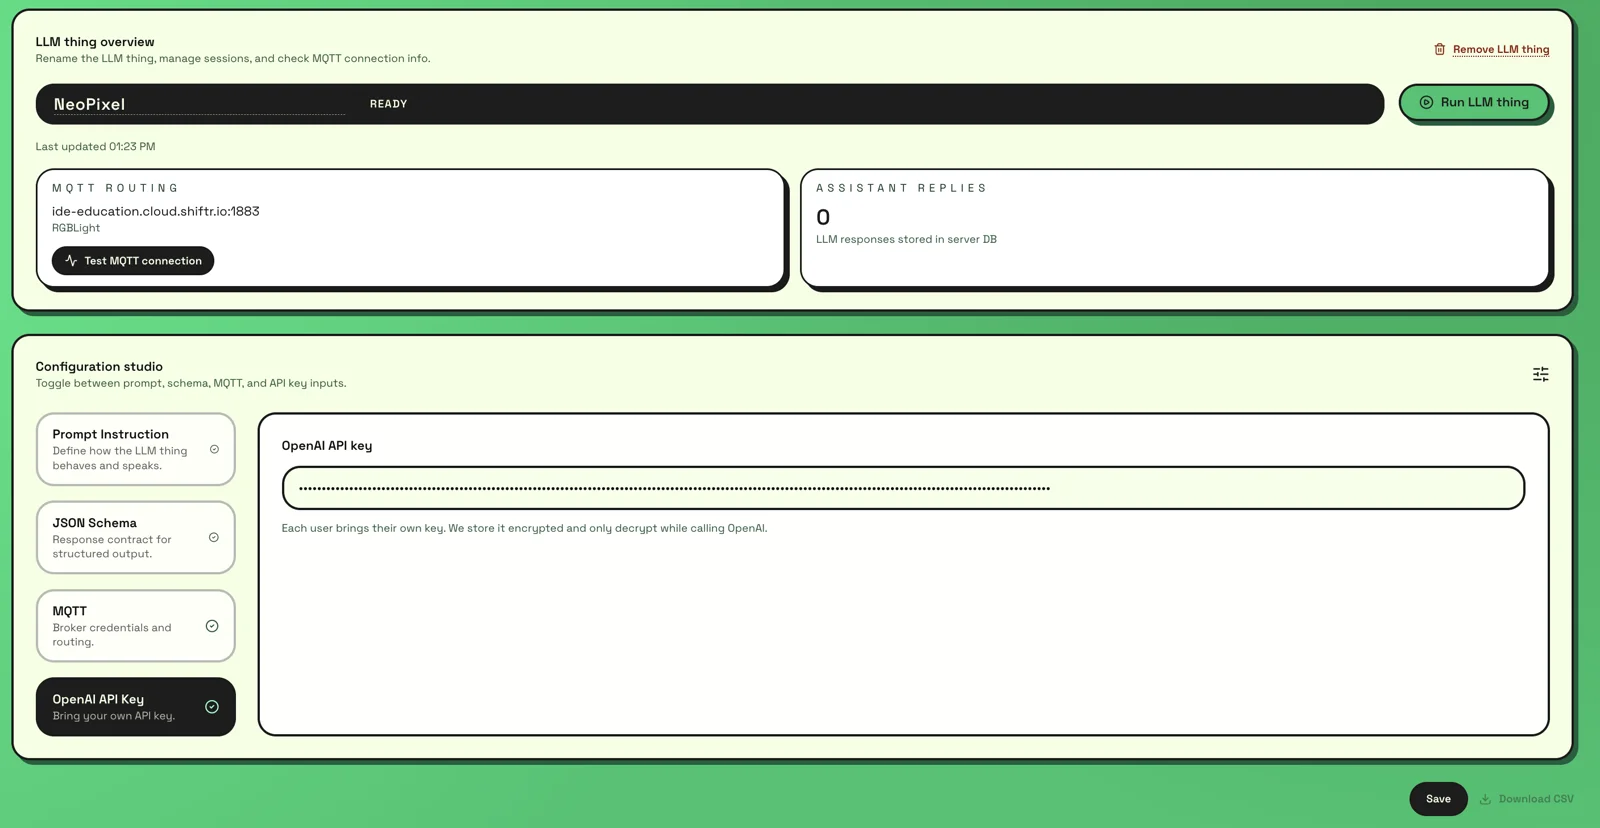
- The last step is to add a valid OpenAI API Key. You will be given one if you are part of a workshop (but in general any OpenAI api key works)
- Press save!
Now as you see your Run LLM thing Button in the top right corner is green and you can go ahead and run it.
below the configuration panel. you’ll see the client access panel. you can either open the chat interface, copy the link and past it somewhere, or scan the qr-code to directly to the chat interface.
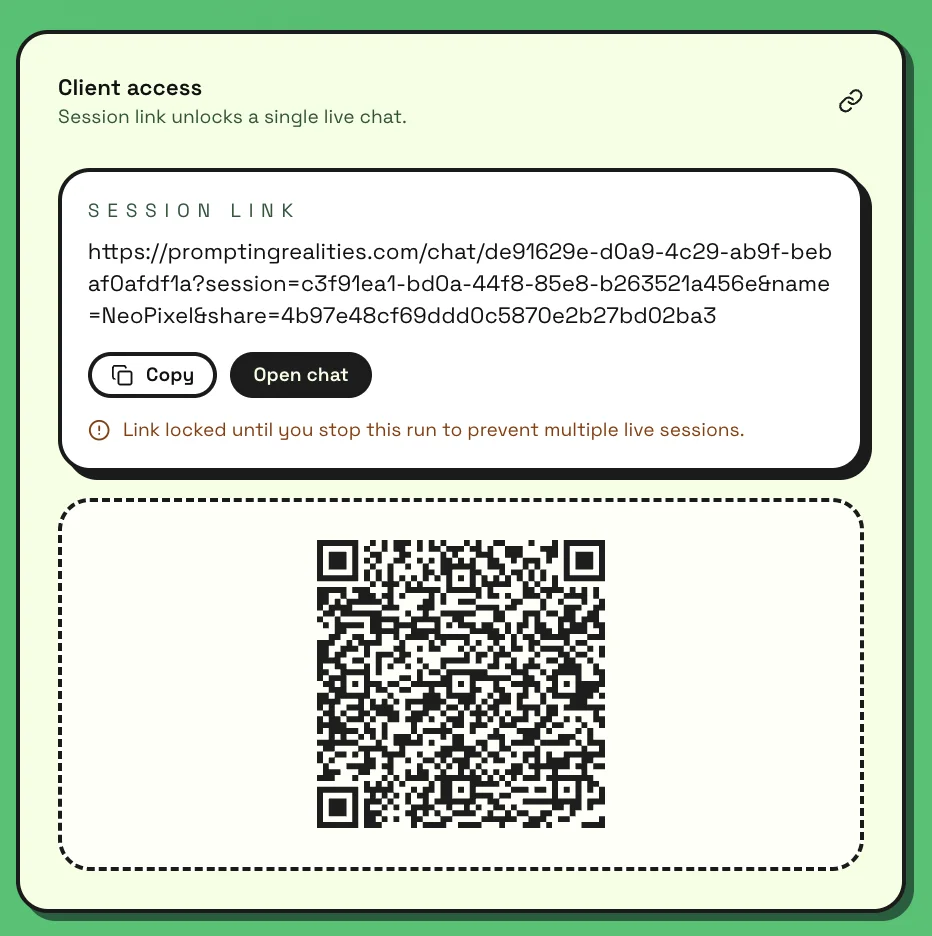
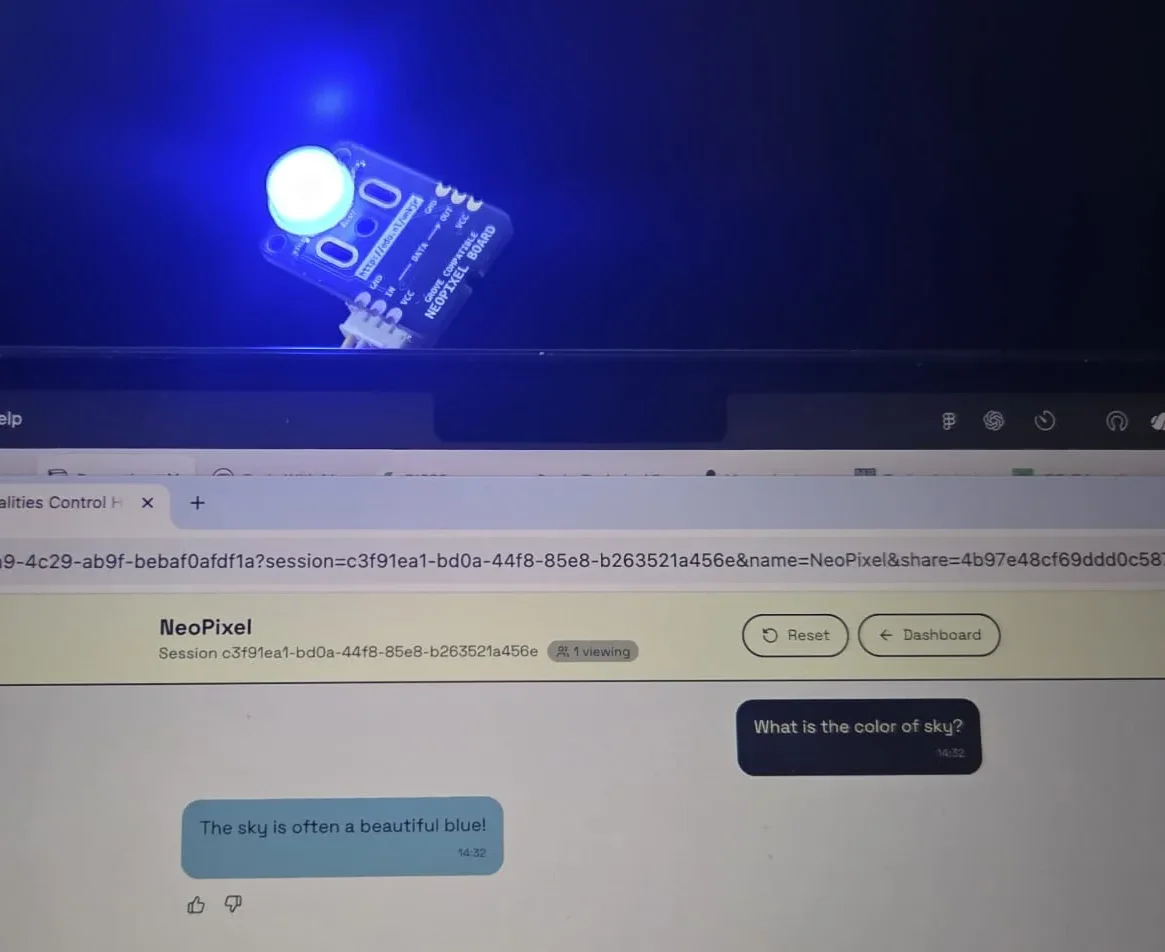
You can start to chat with you RBG LED now! Enjoy!
E. Exploring other actuators in the Kit
You can explore other examples from the GitHub Folder. You can chat a servo, a buzzer, a vibration motor that you can find in your Kit. The preferred order (two leds, vibration motor, servo motor, buzzer).
Prompting Realities — Self-Hosted Tutorial (Public)